Doing It Yourself
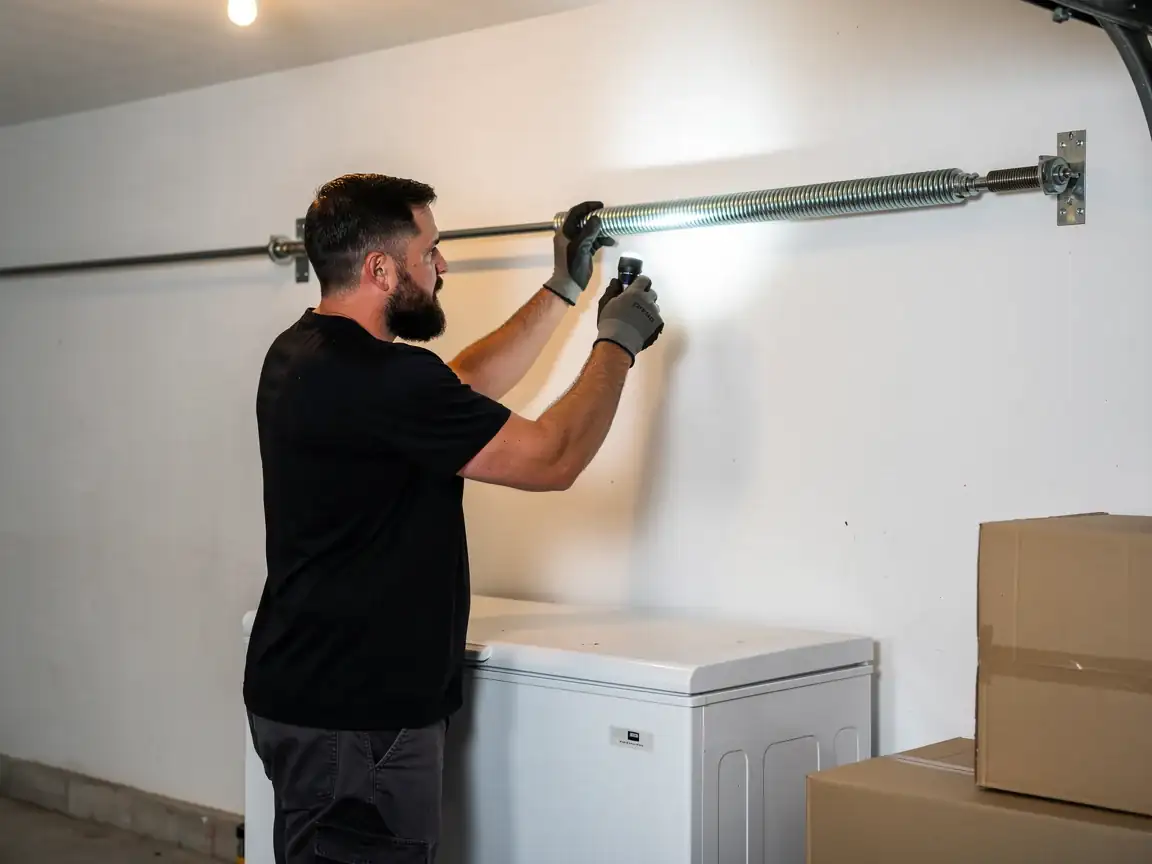
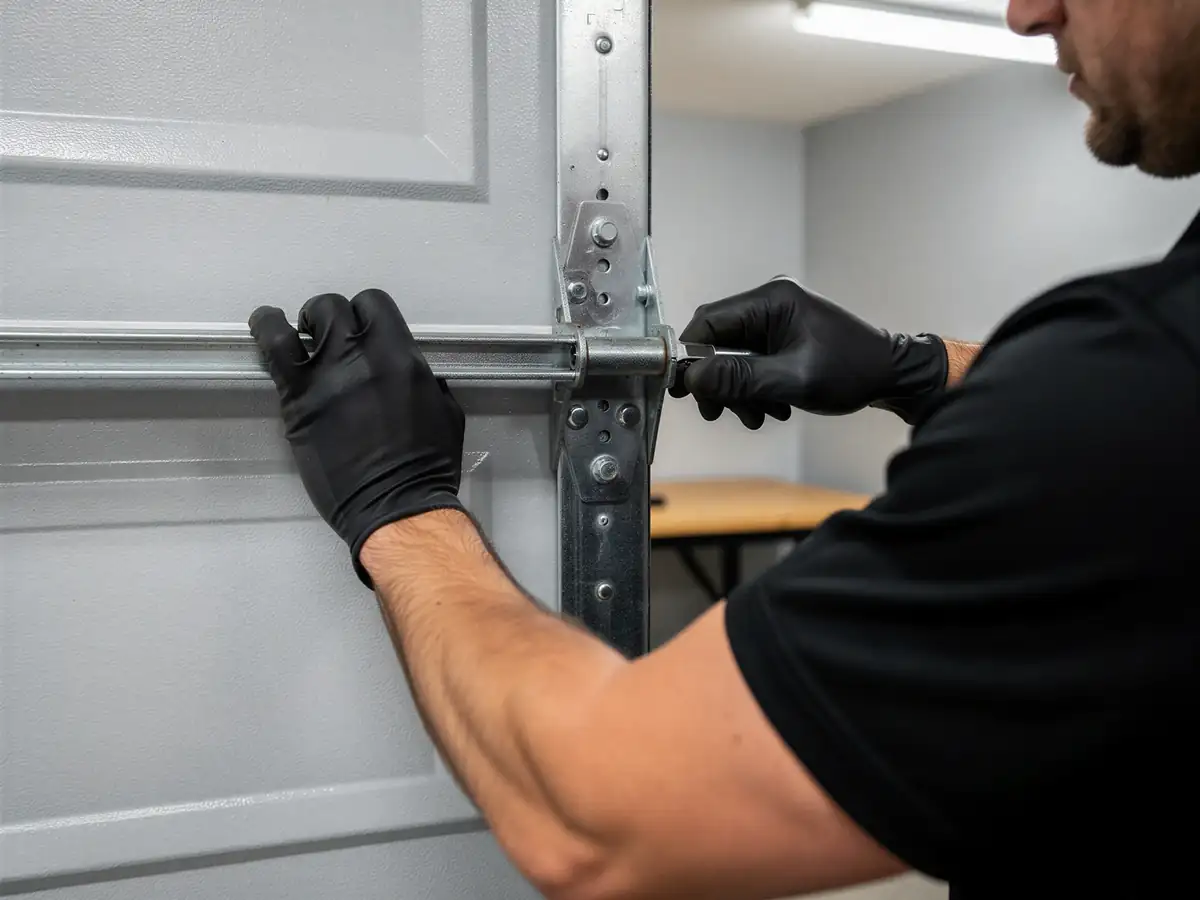
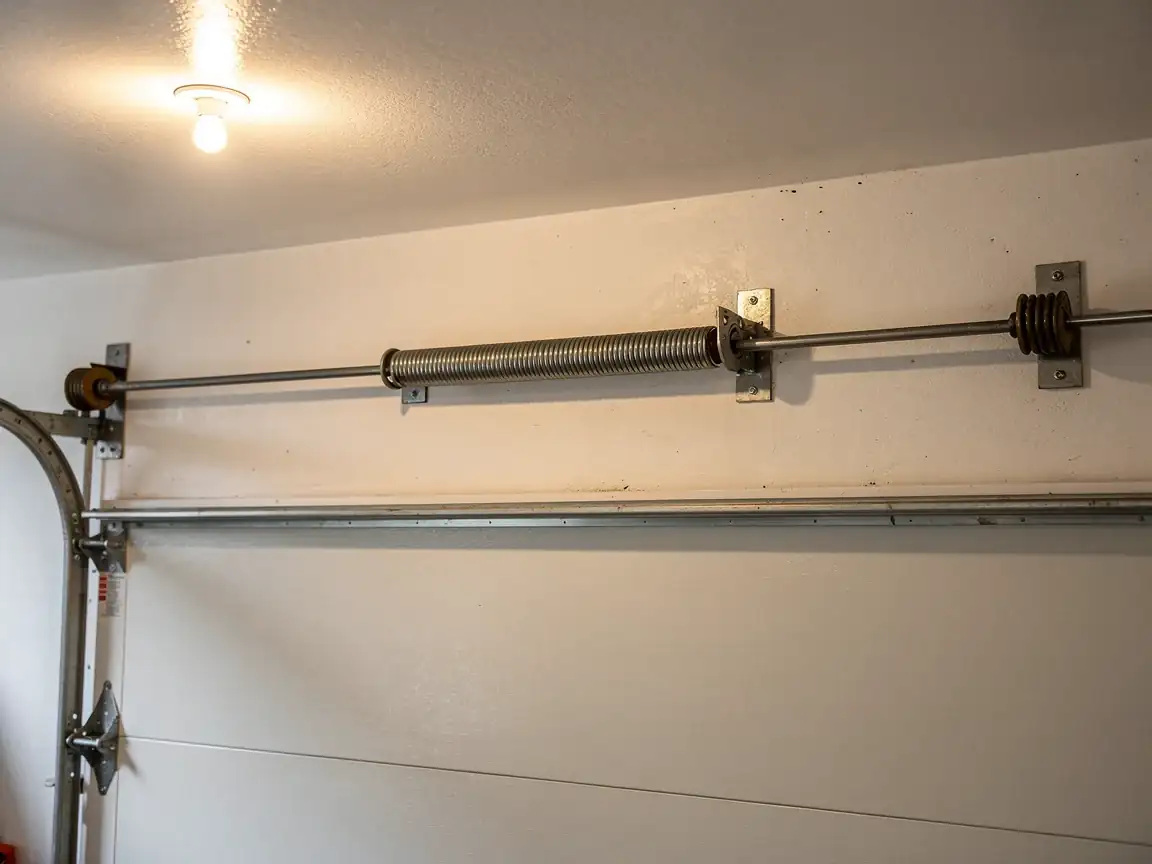
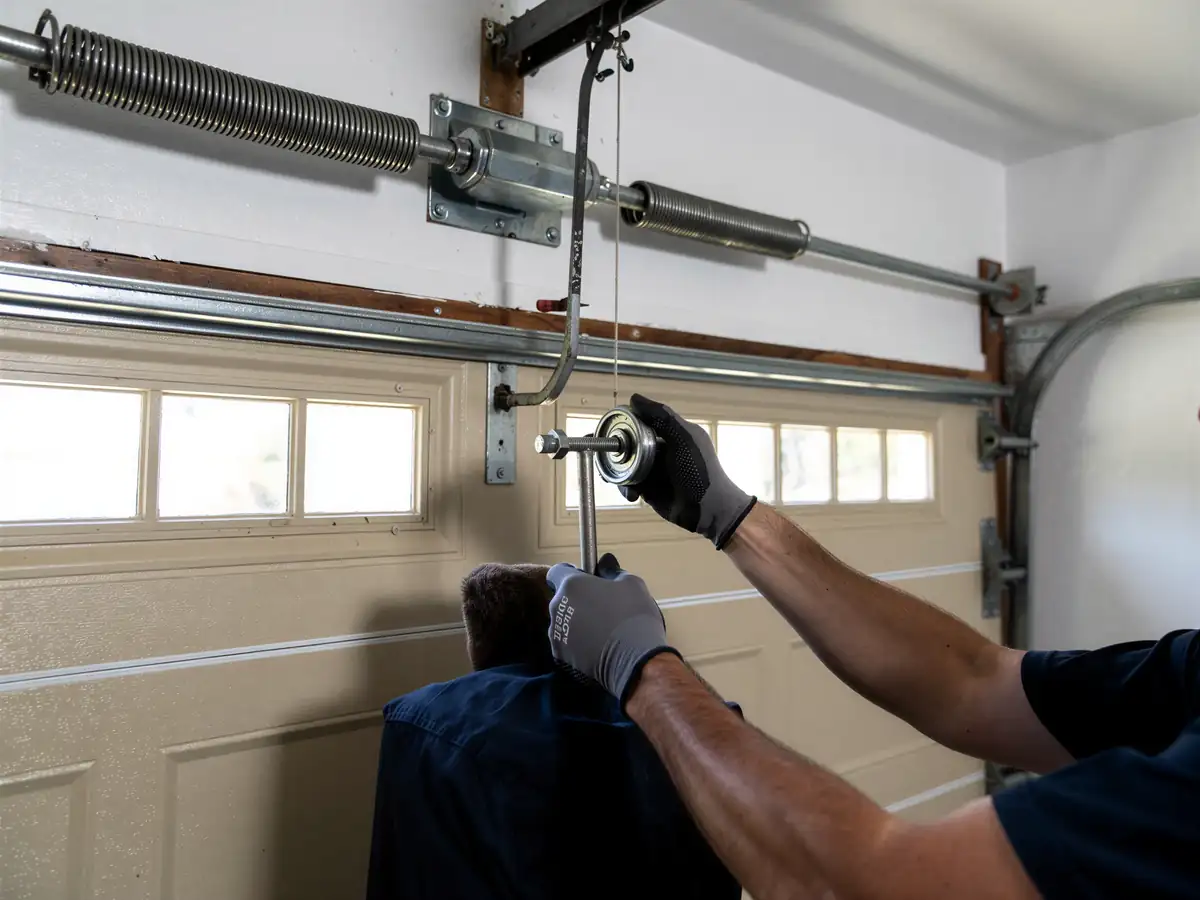
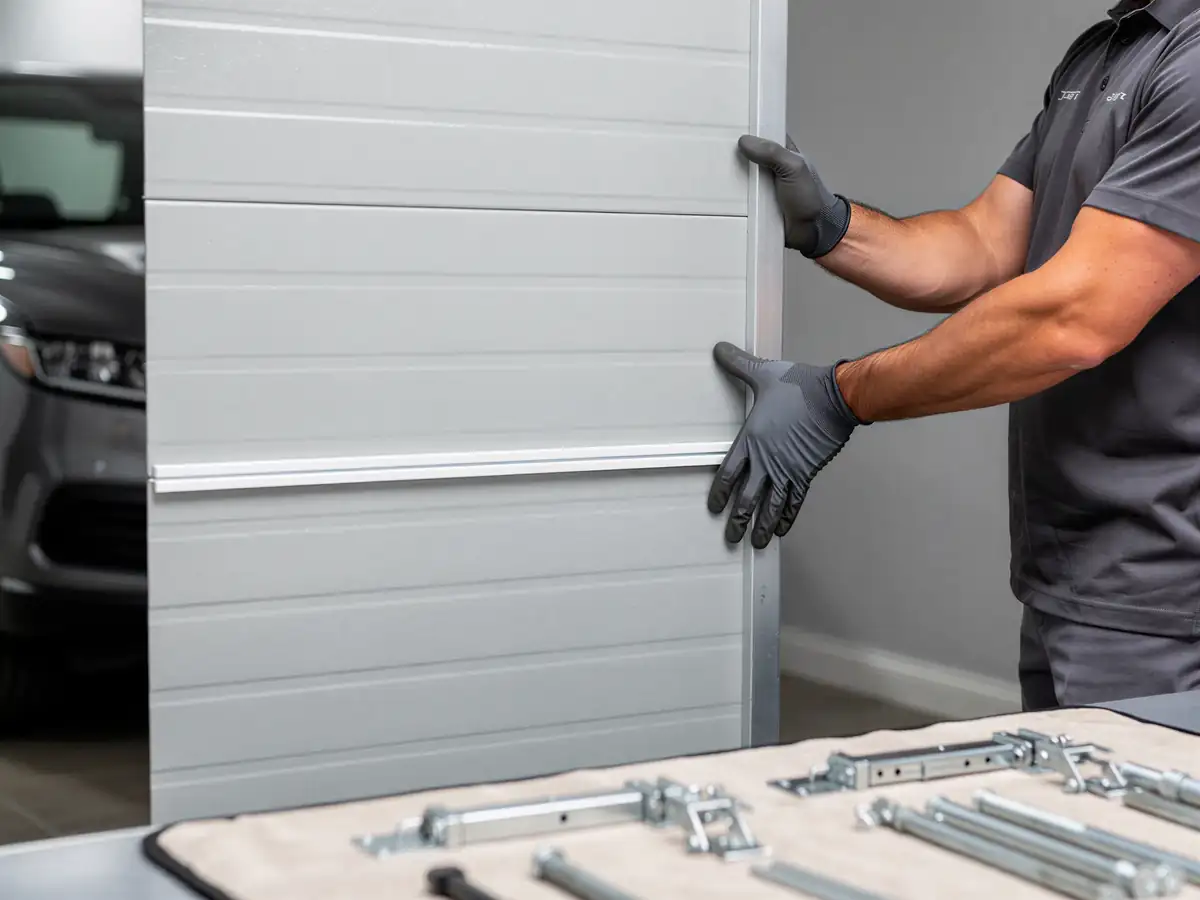
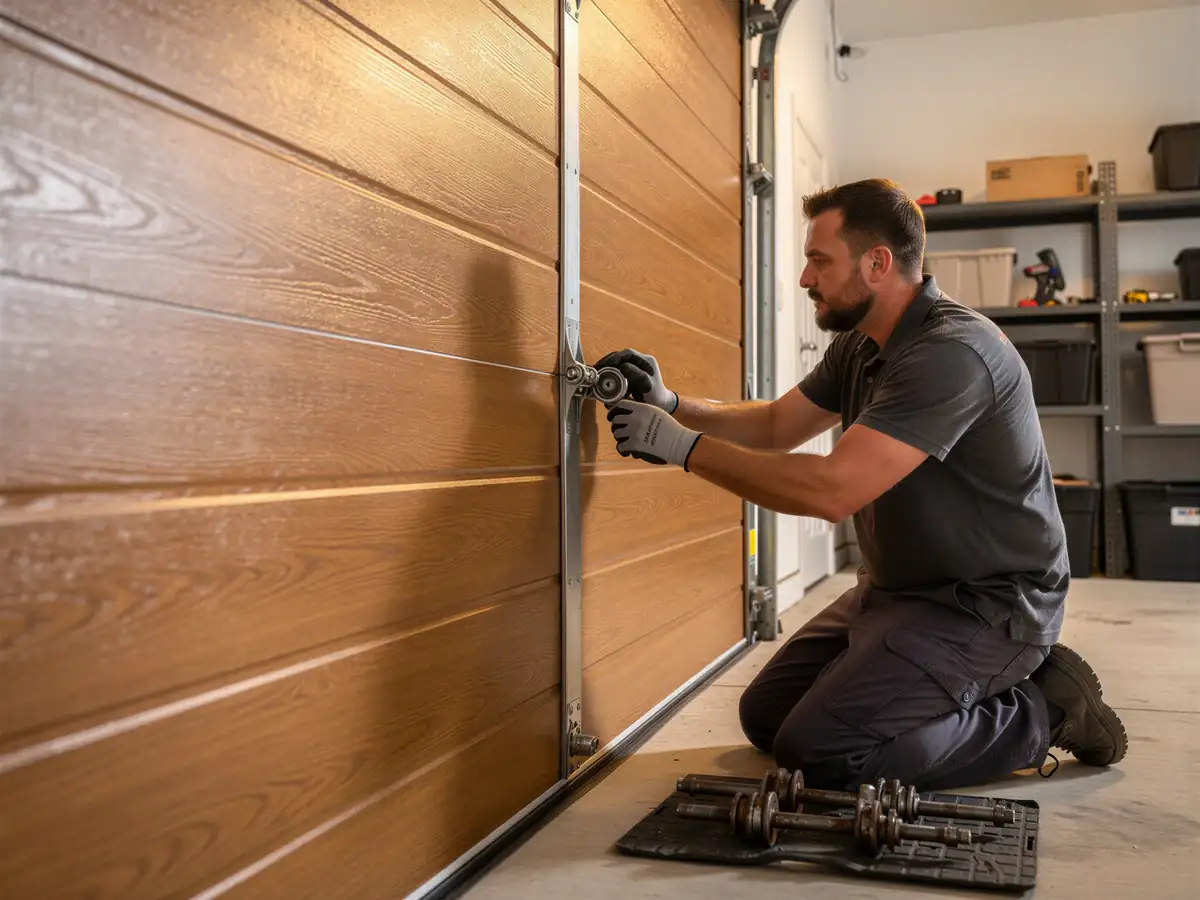
A new garage door looks like a weekend project until you've got a 150-pound section balanced on a ladder and a torsion spring wound to full tension six inches from your face. The panels aren't the hard part - it's the spring, the cable drums, and getting the track plumb on both sides so the door doesn't bind halfway up. Most big-box kits assume a square opening and standard 7-foot headroom. If your garage was framed any time before the 1980s, that assumption doesn't always hold.
We're not going to tell you it can't be done. Some homeowners do it, and some of them do it fine. What we will say honestly: winding a torsion spring without the right bars has put people in the ER, and a door hung an eighth of an inch out of square will work loose at the rollers within a year, not immediately, which is exactly why so many DIY jobs look fine on install day and start failing by the next winter. If you're set on doing it yourself, at minimum get a second person and the manufacturer's spring chart - don't eyeball it.
Why This Fails Locally
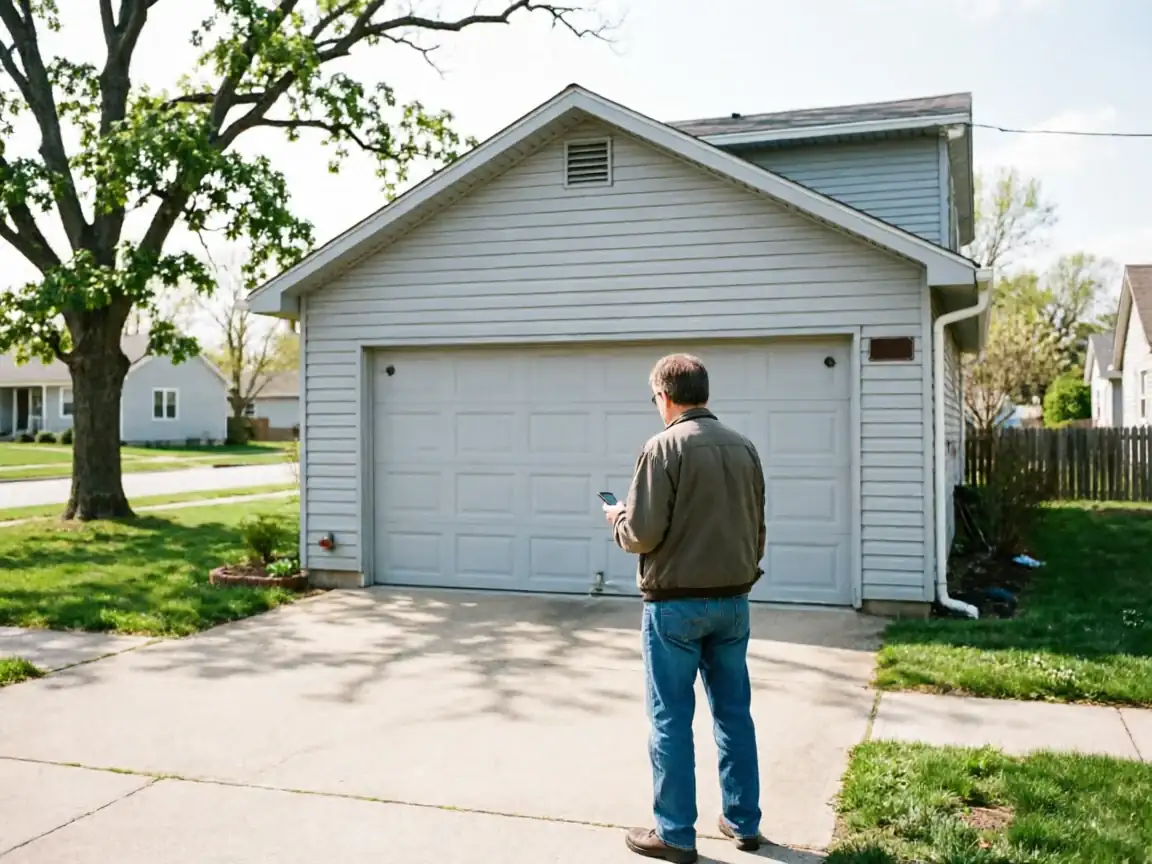
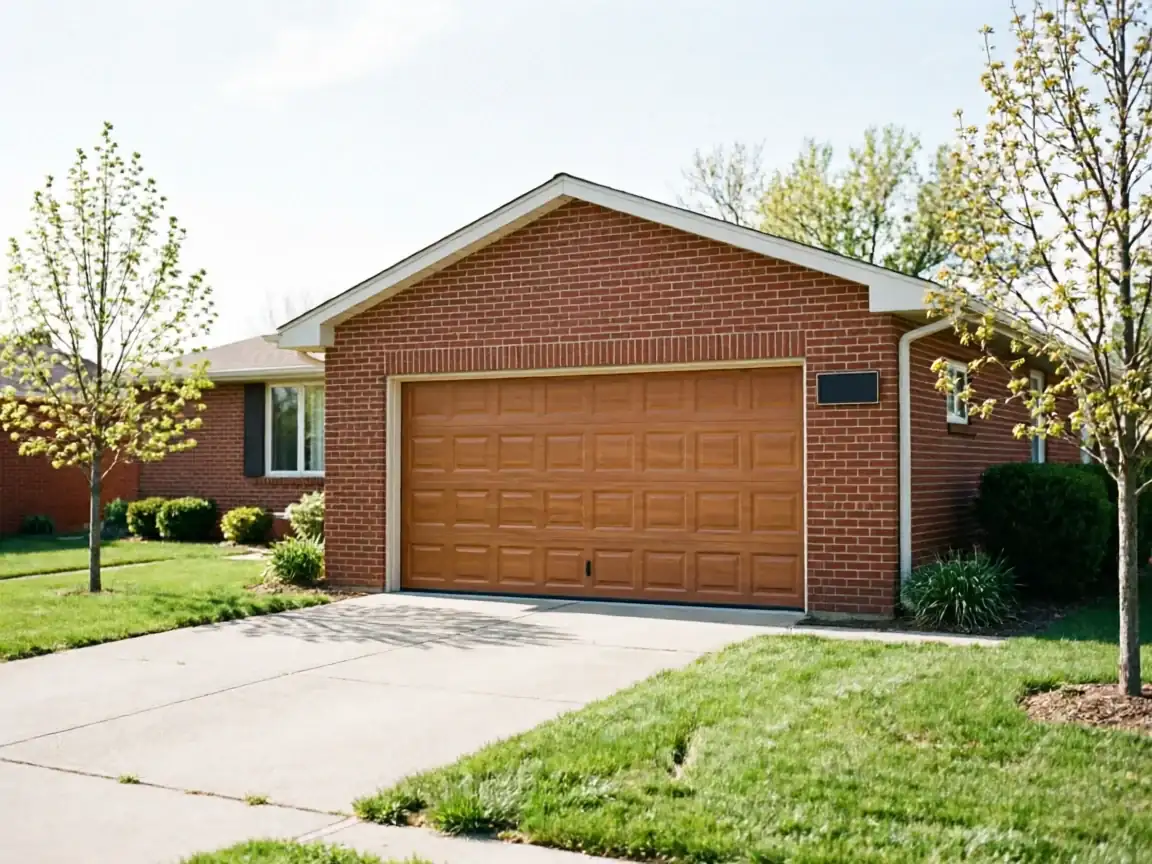
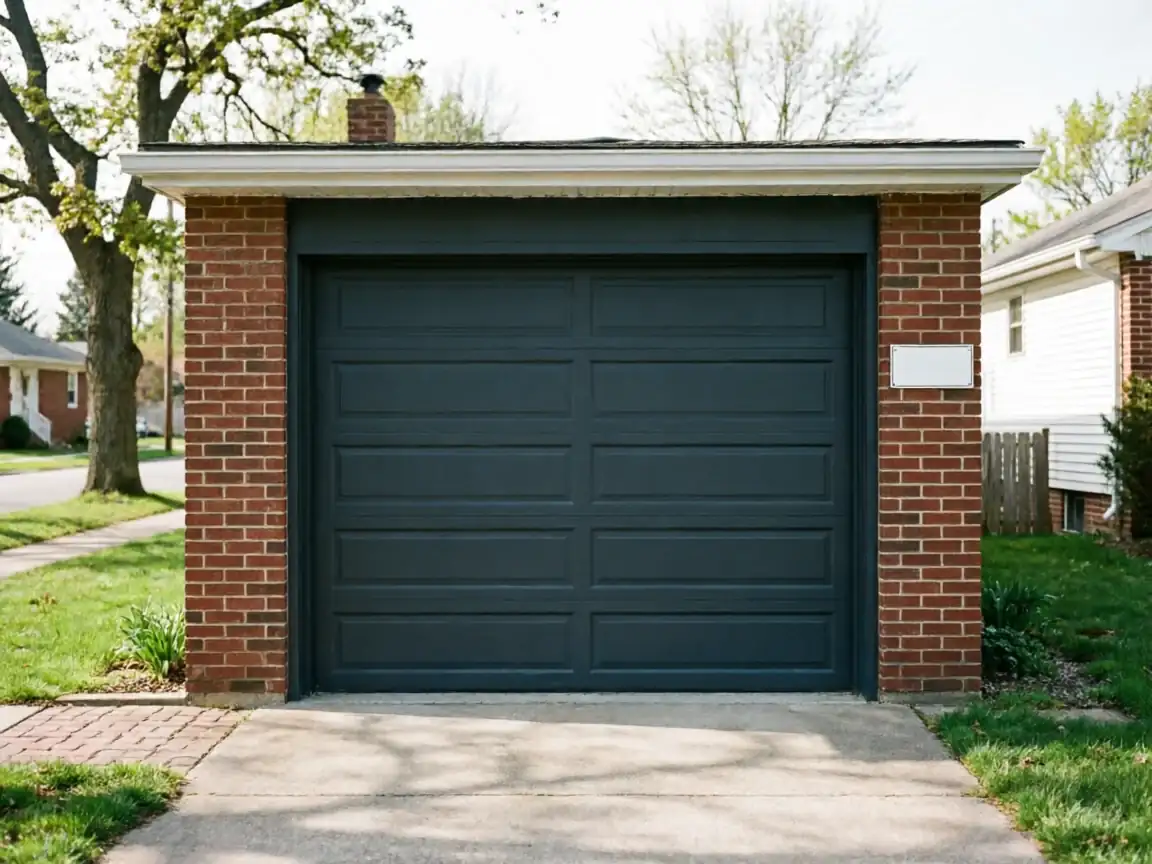
Housing across this service area mostly went up between 1956 and 2000, with the median build year landing around 1978 and the bulk of the stock dating to the 1960s and '70s across the twelve areas we work in. That matters for installation in a specific way: garage openings framed in that window were built to the door sizes and hardware standards of their decade, not today's. A lot of those openings have settled a little over 50-plus years - not enough to notice walking in, enough that a new door's track brackets need to be shimmed differently on one side than the other.
The climate adds a second layer. Champaign sits in a cold, moderate band, and doors installed here need insulation and weatherstripping sized for real winter temperature swings, not the single-layer doors that get sold as standard in milder parts of the country. Put an under-insulated door on a 1970s opening that's already slightly out of true, and you get a door that looks installed but never seals right - gaps at the corners, cold air pushing through the bottom seal, the opener working harder than it should from day one.
The Symptom
The giveaway isn't usually a door that won't open
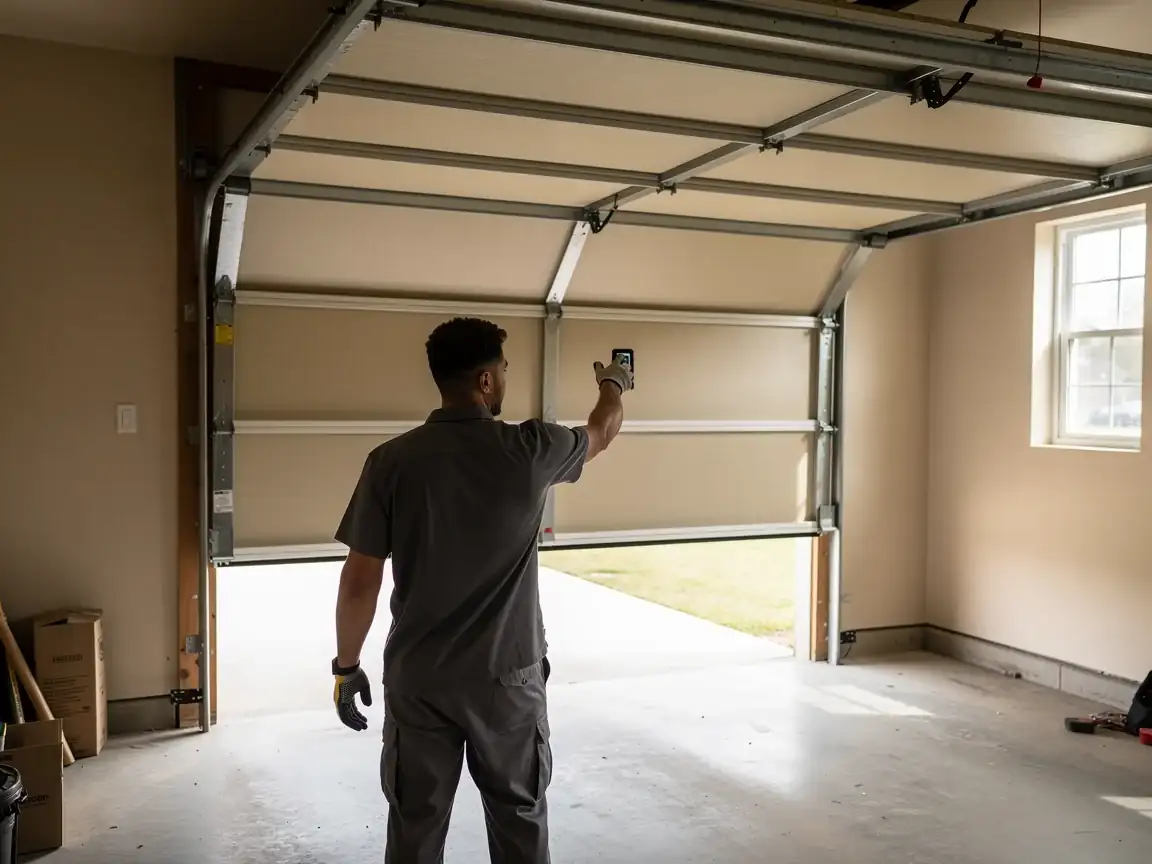
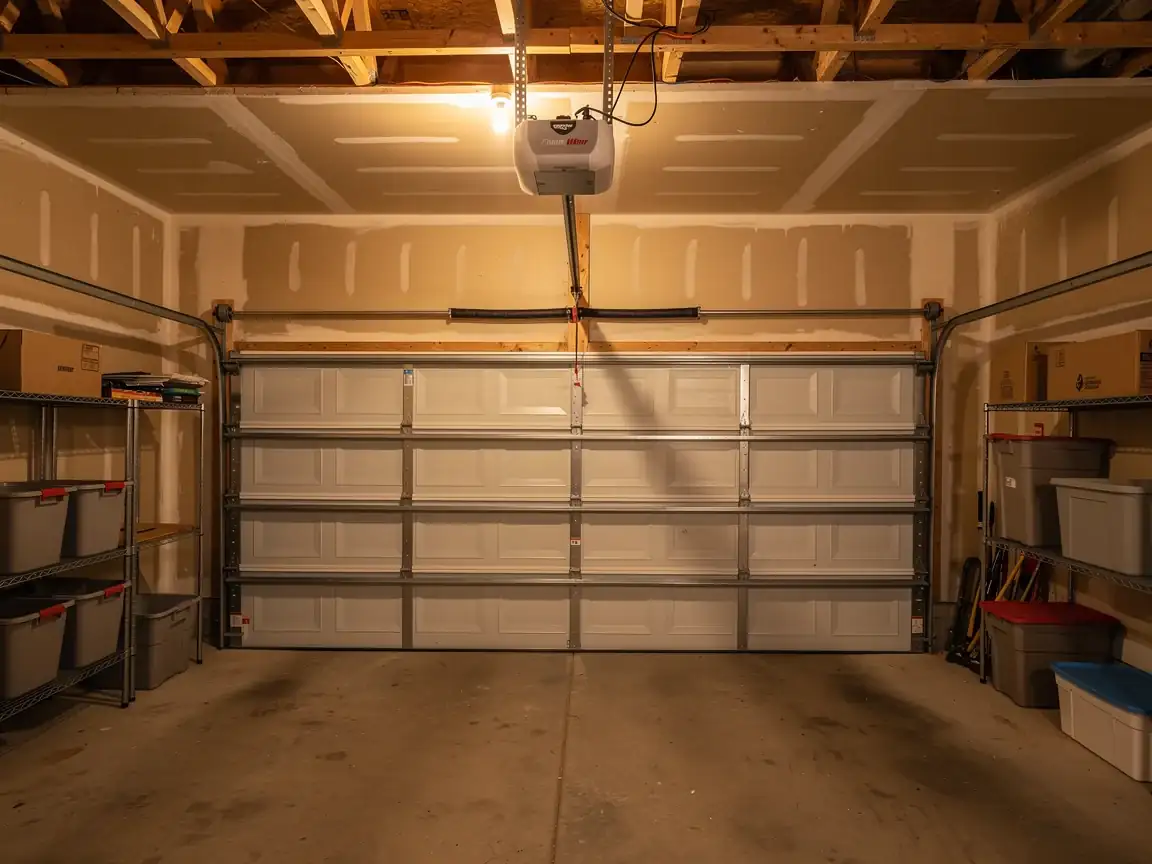
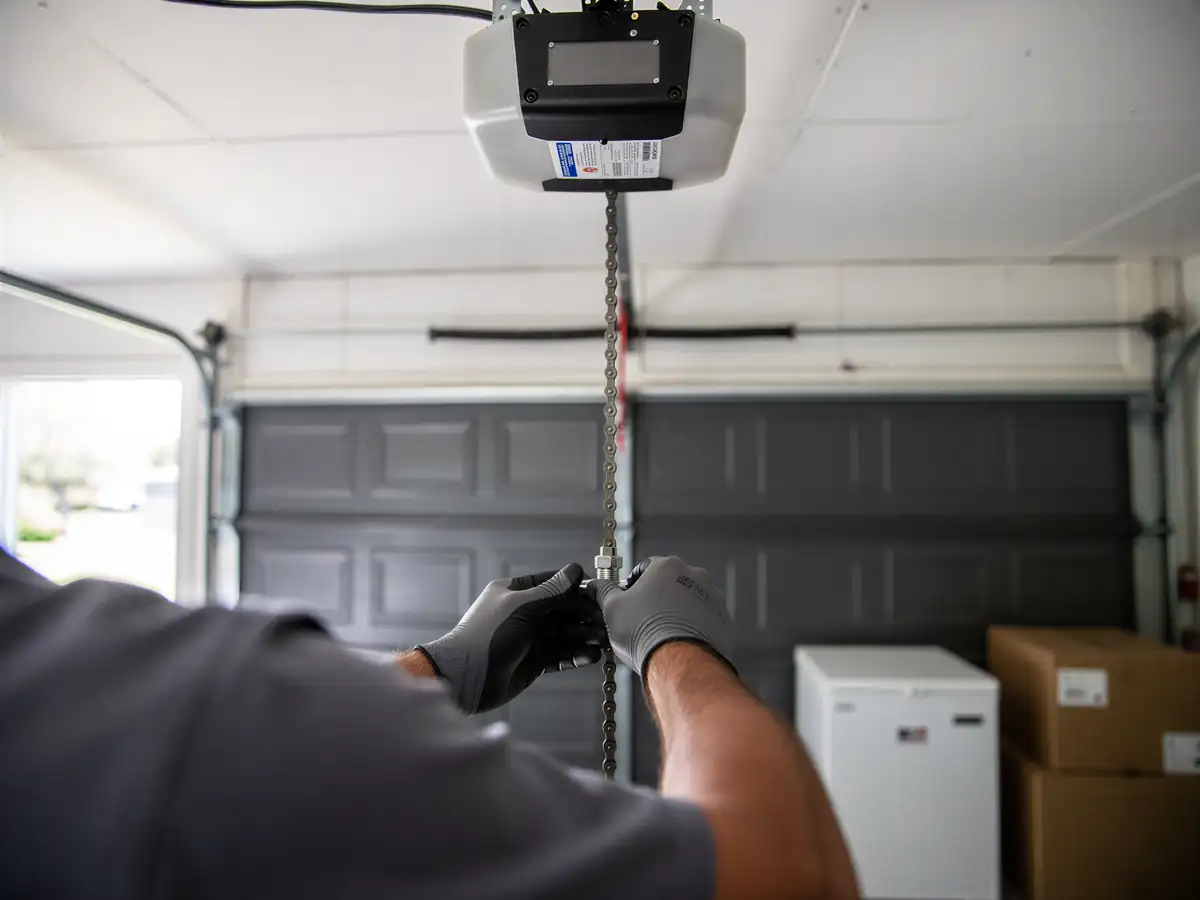
It's a door that opens fine but doesn't sit flush when it's down - daylight at one bottom corner, a draft along one side, or a seal that looks compressed on the left and loose on the right. Sometimes it shows up as the opener straining near the top of travel, which usually means the track isn't plumb rather than anything wrong with the motor.
On older openings in this area, this almost always traces back to the opening itself
Not the door. A header that's dropped slightly over 50 years, jamb studs that aren't perfectly parallel, or a slab that's settled unevenly under one side of the track - any of these will make a correctly-built door behave like it was installed wrong, even when it wasn't. That's the part a lot of installers skip: checking the opening before assuming the door is the problem.
- 50 years
Time on the Job
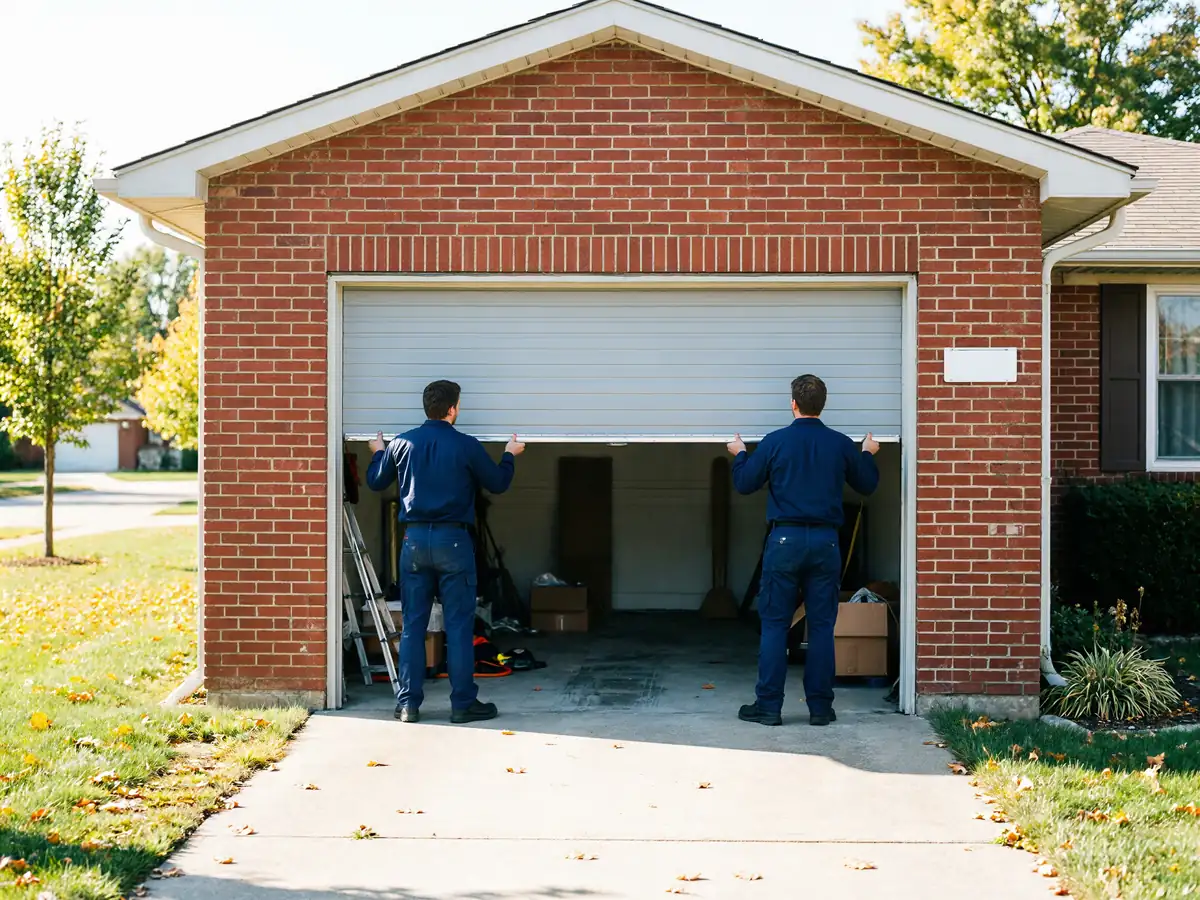
A straightforward install on a newer, square opening goes faster than one on an older house where the opening needs correcting first. We won't put a number on it here because it genuinely depends on what's behind the drywall - whether the jambs are square, whether the existing track mounts are reusable, whether the header needs reinforcing for a heavier insulated door. Houses from the 1960s and '70s, which make up most of what we see across this area, more often need that extra correction step than houses built in the last twenty years.
What we can tell you is the order of operations: we check the opening for square and plumb before the new door ever comes off the truck, because fixing that after the panels are hung costs more time than catching it first. If your opening needs shimming or a header repair, that gets priced and done as part of the same visit, not as a surprise add-on once we're already partway through.